Showing posts with label mascarpone. Show all posts

Sunday, March 27, 2016

Profiteroles (Choux Cream)


Happy Easter! I hope that everyone was able to celebrate and enjoy the day. This was my first Easter in a couple years that I wasn't working, which seemed strange. When I was working at the hotel, I worked Easter brunch, so I'd be there from about 5 or 6 am to set up until close to the end of brunch. After brunch I would head to church (back when my church had service at 4pm). Needless to say, Easter Sunday was always a long day, but it was always so rewarding and refreshing.

Thinking about Easter brunch at the hotel reminds me of all the desserts that I used to help put out with the rest of the team. I personally don't have the biggest sweet tooth, which is why I love choux so much! This french pastry is not very sweet, but pairs excellently with creamy fillings. You see it used for cream puffs/profiteroles and eclairs.


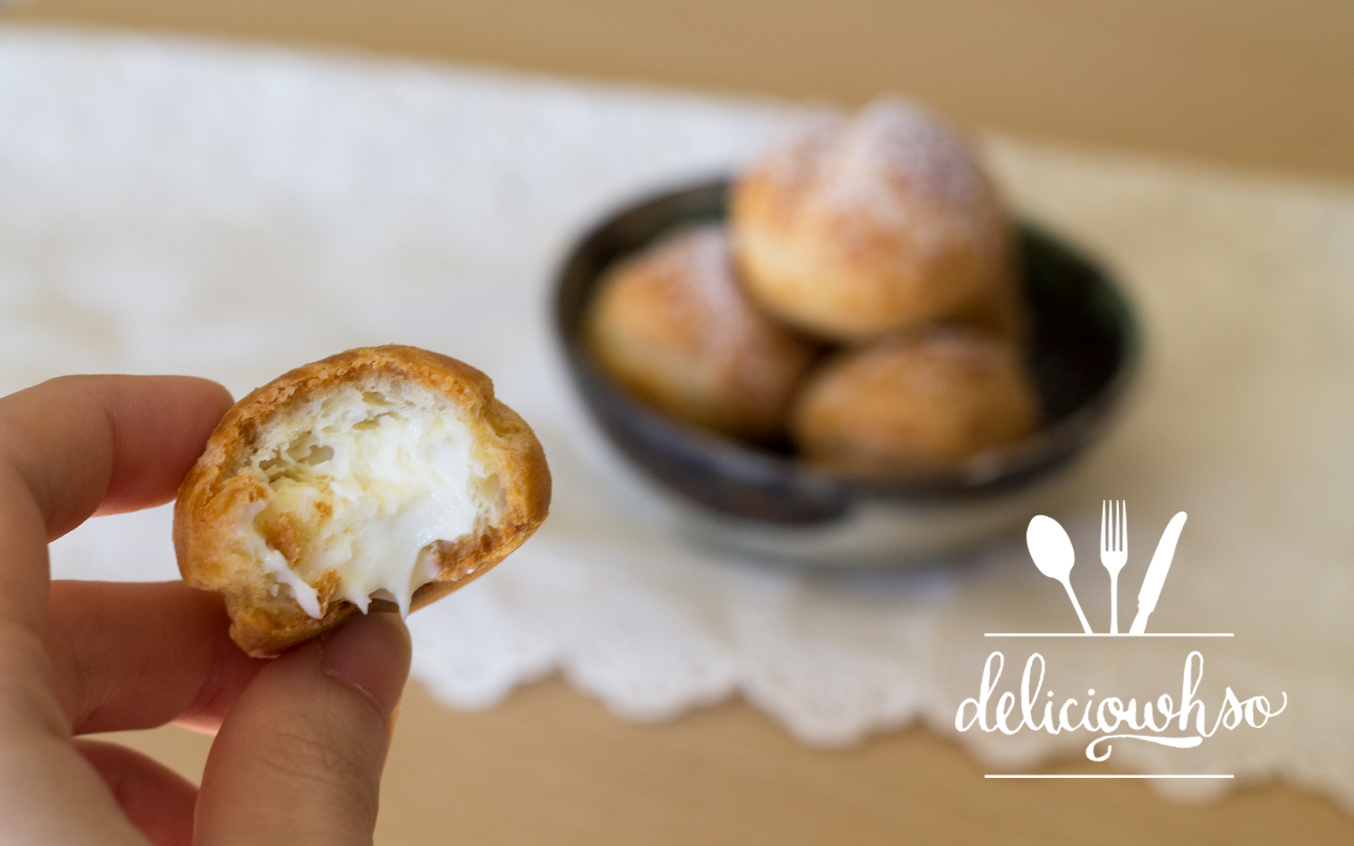
I paired this choux with a mascarpone filling. It's great with the choux, since it's smooth, creamy, and light. If you're a fan of chocolate or coffee, you could make a cocoa glaze to top it.

Choux Pastry (makes 50 small pieces)
250g Milk
150g Water 
185g Butter
8g Sugar
8g Salt
220g Cake Flour
400g Eggs
 
1. Bring milk, water, and butter to a boil in a large pot.
2. Reduce heat to low. Add flour, sugar, and salt all at once.
3. Mix the batter thoroughly until it combines into one mass.
4. Move the batter into a bowl and use a mixer to mix on low speed to cool off gently.
5. Crack the eggs into a container.
6. Pour the eggs slowly, about 2 at a time while mixing on low speed. Scrape the bowl between pours to ensure a smooth batter.
7. Place the finished batter into a piping bag fitted with a round tip. Pipe small rounds, about 1-1.5 inches in diameter onto a silpat.
8. Preheat the oven to 375 degrees F.
9. Spray the piped out choux lightly with baking spray. Bake in the oven until golden brown, around 18 minutes, rotating halfway through.
10. Remove the choux from the oven and allow to cool. Once cool, use a small knife or a sharp piping tip to poke a hole at the bottom of the pastry.

Mascarpone Cream
1 cup Milk
1 oz Butter
1.25 oz Flour
3 oz Sugar
1.5 oz Egg Yolks
.3 oz Gelatin
1.8 oz Water
8 oz Mascarpone Cheese
2.5 oz Powdered Sugar
1/2 tsp Vanilla Extract

1. Bring milk and butter to a boil.
2. In the meantime, whisk together flour and sugar in a bowl, and add the egg yolks.
3. Pour the milk into the egg mixture slowly, whisking constantly, then pour everything back into the pot. Turn your heat to low.
4. Whisk the mixture constantly and allow it to boil and thicken.
5. Pour the mixture through a strainer into a bowl.
6. Bloom gelatin in water, and melt. Pour it into the pastry cream mixture and let it cool slightly.
7. Put mascarpone and powdered sugar into the pastry cream and fold thoroughly. Add vanilla for flavor.
8. Place the filling into a piping bag fitted with a small round tip.
9. Pipe the filling into the choux pastry and serve. You can freeze or refrigerate these pastries as well, but they taste best freshly served.


Choux pastry is one of my favorites! I love that it's not very sweet, but adds the perfect balance of flavor with a smooth filling. The other thing I like about choux is that you can fill it with whatever filling that you want to.

Sunday, April 12, 2015

Raspberry and Honey Goat Cheese Ice Cream

This recipe is a mouthful. Jeni's ice cream shop opened up a location in Atlanta about a year ago. Since then, I've been a few times. One of the most remarkable flavors that Jeni's has is a goat cheese and cherry ice cream. It's an artisan ice cream with tangy goat cheese, roasted cherries, and a richness that can't be bought in a grocery store.

This recipe is a play on the Jeni's goat cheese and cherry. I took some raspberries and mascarpone cheese and added it to to this recipe. The raspberries are a perfect texture change from the smooth ice cream, and the jam is a great way to complement the honey goat cheese.

Raspberry and Honey Goat Cheese Ice Cream (Makes 2 quarts) Adapted from Jeni's
1.5 cups Milk
1 tbsp Corn Starch
1 cup Heavy Cream
1 oz Light Corn Syrup
1/3 cup Sugar
2 tsp Honey
1/4 tsp Salt
2 oz Honey Goat Cheese
2 oz Mascarpone Cheese
1 package Raspberries
2 tbsp Raspberry Jam

1. Prepare your ice cream machine as the instructions direct (for mine, I have to put the freezing vessel into the freezer overnight).
2. Make a slurry with 1/4 cup Milk and the corn starch. Whisk it together to combine.
3. In a medium sized pot, put the remaining milk, cream, corn syrup, sugar, honey, and salt.
4. Bring the pot ingredients to a boil. Allow to boil for about 4 minutes.
5. In a separate bowl, mix the goat cheese and mascarpone cheese together until well incorporated and smooth.
6. After the ingredients in the pot have boiled for 4 minutes, slowly pour the slurry of milk and corn starch into the pot while mixing with a rubber spatula.
7. On medium heat, allow the mixture to come back to a boil and cook for about a minute, stirring constantly. The mixture will be finished when the starchy flavor cooks out and the consistency becomes slightly thick.
8. Pour a little bit of the hot mixture into the cheese, mixing to incorporate. Repeat until the mixture is smooth, and all of the hot has been incorporated.
9. Cover the mixture with plastic wrap, so that it is touching the surface. Place the bowl into the fridge until the mixture has cooled completely.
10. When cooled completely, pour into your ice cream maker and follow the manufacturer's instructions to churn.
11. When the ice cream is ready, it will look like soft serve. Prepare a container.
12. Mix in fresh raspberries after the ice cream has been spun, breaking them up slightly as you go. 
13. Place layers of ice cream and jam, so that when you scoop the ice cream you get a nice swirl-effect.
14. Freeze the ice cream for at least a couple hours before serving.
15. Allow to thaw slightly, for about 5 minutes, then scoop into a frozen bowl and share!

Georgia has had some really warm weather lately (I turned on my AC for the first time this year!). I can't help but crave some ice cream with the weather change (and to make me feel better about my pollen allergies). This ice cream is perfect for spring and doesn't take long to make!

Sunday, June 1, 2014

Lemon Basil Doughnut Holes

Apparently June 6th is national doughnut day! It actually happens to fall on my 21st birthday! My brother told me that I should go get some free doughnuts on my birthday. I decided to make a different link to the day. In honor of the doughnut day, I made some yummy doughnut holes with my close friend Cynthia :)

These donut holes are extremely simple to make. I use store bought pizza dough to create these doughnuts.

Lemon Basil Doughnut Holes (Makes about 20)
1 lb Pizza Dough
4 cup Oil
1/2 cup Sugar
3 leaves Basil
8 oz Mascarpone Cheese
1 Lemon
1/4 cup Powdered Sugar

1. Flatten the pizza dough into a square onto a floured surface. It should be about 3/4" thick.
2. Use a sharp knife to cut the dough into 1.5" squares. They each should weigh about .75 oz. If your dough has bubbles in it, degas the dough by tapping it gently. 3. Use your fingers to stretch the smooth side out to cover the rest of the dough. Bring it to the bottom and pinch to close.
4. Bring 4 cups of oil to about 375 degrees F in a medium pot.
5. Use a slotted spoon to gently place about 5 dough balls in the oil.
6. Allow the dough to cook on each side for about 1 minute.
7. The doughnut will be a dark golden when it is cooked well.
8. Remove the doughnuts with a slotted spoon onto a paper towel lined strainer to drain oil.
9. Blend the 1/2 cup sugar and basil leaves in a food processor or small blender until the herbs disappear.
10. Roll the doughnut in the sugar and allow to cool completely.
11. Combine mascarpone, powdered sugar, lemon zest of a whole lemon, and half a lemon's juice.
12. Fill a piping bag with the mascarpone mixture.
13. Use a pointed icing tip to poke a deep hole into each doughnut.
14. Fill the doughnut with the mascarpone until it peeks out of the hole.
15. Re-roll the doughnut in the basil sugar to coat. 
16. Be sure to serve this doughnut soon after making it since the filling shouldn't be out for more than a few hours. 

This recipe is really simple to make. Use it to impress your friends on national doughnut day!

Have an instagram account? I finally got a smartphone... which means I finally have Instagram. So follow me @deliciowhso !